One question that frequently pops up is about the right amount of thermal paste to apply on a CPU. It’s a seemingly small detail that can have a big impact on your computer’s performance.
I’ve learned that while applying thermal paste might seem straightforward, there’s a fine line between the perfect amount and too much. This balance is crucial not just for optimal thermal conductivity but also to avoid potential messes or damage to the CPU and motherboard.
I will talk about several factors, like:
- The consensus around a pea-sized amount of thermal paste being sufficient for most CPU types.
- Various methods (pea-sized dot, line, cross, or spread) offer flexibility in application based on the CPU’s size and shape.
- Practical tests comparing different amounts and patterns of thermal paste application reveal that smaller amounts evenly spread tend to provide the best thermal management.
Without further ado, let us begin.
The Right Amount of Thermal Paste
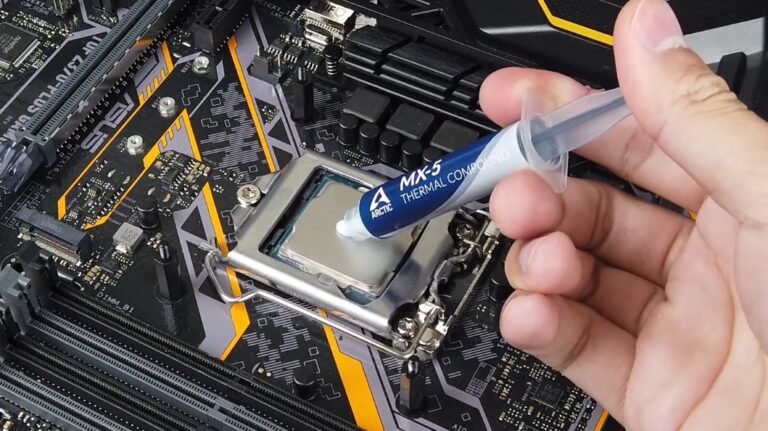
Determining the right amount of thermal paste to apply on a CPU is a nuanced process that requires a balance between too little and too much. The widely accepted guideline suggests that a pea-sized amount of thermal paste, placed directly in the center of the CPU, usually suffices for effective heat transfer.
This recommendation is favored for its straightforwardness, allowing the subsequent mounting of the cooler to naturally disperse the paste across the CPU’s surface. The simplicity of this method makes it accessible to both novices and seasoned PC builders alike.
| Application Method | Description | Pros | Cons |
|---|---|---|---|
| Pea-sized Dot | A small dot of paste in the center of the CPU | Simple, effective for most CPUs | May not cover entire CPU for larger models |
| Line Method | A thin line of paste across the CPU | Good for rectangular CPUs | Requires precision to avoid excess |
| X Method | A cross-shaped application of paste | Ensures coverage at the corners | Potentially wasteful |
| Spread Method | Manually spreading the paste over the CPU | Complete coverage | Risk of air bubbles, uneven application |
The ideal quantity of thermal paste is not a one-size-fits-all solution. Several factors influence how much paste you should use, including the physical dimensions of the CPU and the specific characteristics of the thermal paste being applied. The primary objective is to form a thin, uniform layer that adequately covers the CPU’s surface area without spilling over the sides.
Excess paste can seep onto the motherboard, creating a mess and potentially compromising the system’s electrical integrity, especially with conductive pastes. Conversely, applying too little paste risks inadequate coverage, leading to hot spots and reduced cooling efficiency.
Each method has its merits and drawbacks, and the best approach may vary depending on the specific CPU architecture and cooler design. For instance, larger CPUs or those with an integrated heat spreader (IHS) that covers a more extensive area might benefit from the line or X method to ensure the paste reaches the edges.
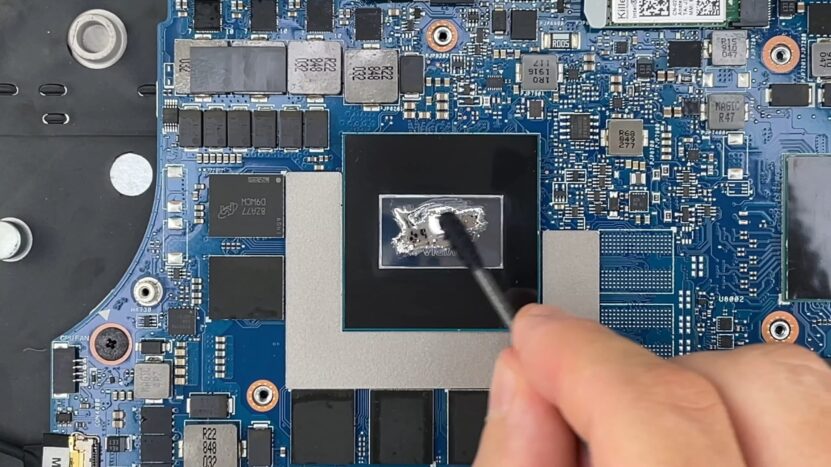
Meanwhile, the spread method offers the most control over coverage but requires a steady hand and a tool like a plastic card to achieve a uniform layer without introducing air pockets.
Consequences of Excessive Thermal Paste
The application of an excessive amount of thermal paste, while seemingly a minor misstep, can precipitate a range of complications that extend beyond the mere inconvenience of cleanup. The immediate consequence of over-application is the unsightly spillage that extends beyond the confines of the CPU, potentially encroaching upon the motherboard.
This excess not only necessitates a meticulous cleanup process but also poses a risk to the motherboard’s integrity, especially if the thermal paste possesses conductive properties.
A more insidious issue lies in the impact of excessive thermal paste on the CPU’s cooling efficiency. Contrary to intuitive expectations, more paste does not equate to better heat transfer. In fact, an overly thick layer of thermal paste acts as an insulator rather than a conductor, impeding the efficient transfer of heat from the CPU to the cooler.
This increased thermal resistance can lead to higher operating temperatures, diminishing the CPU’s performance and potentially accelerating wear and tear on its components. The risks are further compounded when using electrically conductive thermal pastes, such as those containing metal or liquid metal.
In these scenarios, the spillage of excess paste onto the motherboard can lead to electrical shorts, causing immediate damage to the motherboard and connected components. Such damage can be catastrophic, leading to costly repairs or replacements.
Testing Thermal Paste Amounts
Conducting practical tests to determine the optimal amount and pattern of thermal paste application is crucial for understanding how these variables affect CPU cooling efficiency. Through a series of controlled experiments, it’s possible to observe how different quantities and application methods impact the thermal conductivity between the CPU and its cooler.
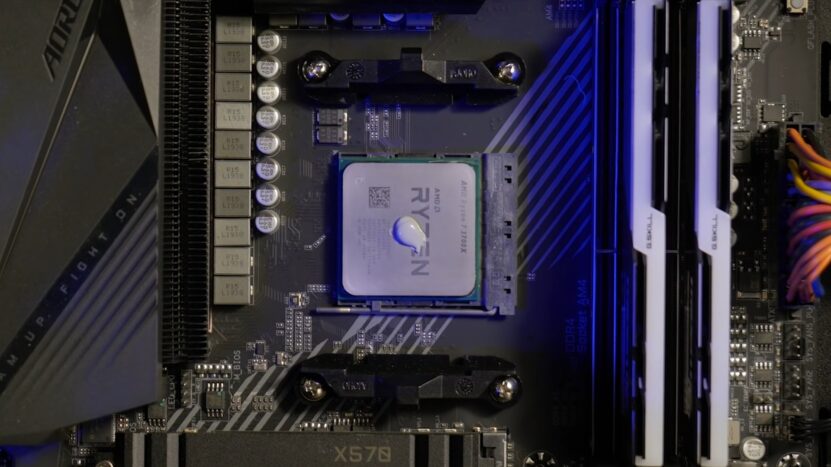
The results from such tests offer valuable insights, guiding users towards the most effective strategies for applying thermal paste. Testing different pastes is encouraged, but you shouldnt do it on pricy hardware like Amd Ryzen 5 3600.
Small to Medium Dots or Lines
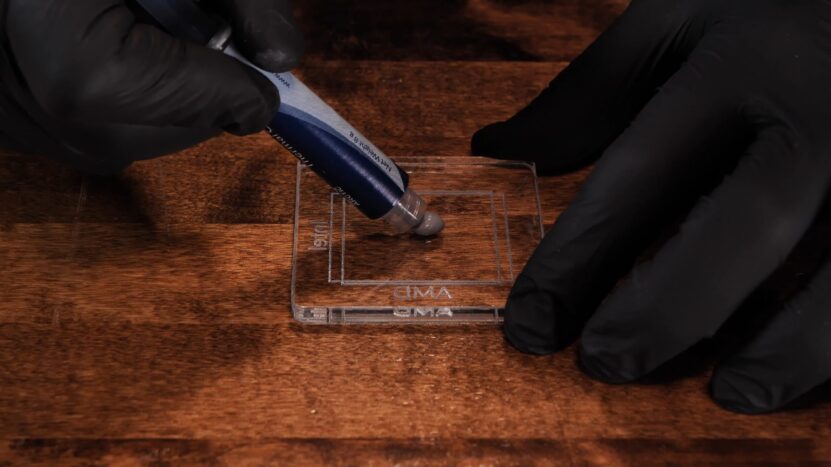
Tests show that applying a small to medium-sized dot or a thin line of thermal paste on the center of the CPU generally yields the best results in terms of thermal management. When the cooler is mounted and pressure applied, these smaller amounts spread evenly across the surface of the CPU, covering it sufficiently without excessive overflow.
This method ensures that the thermal paste fills the microscopic gaps between the CPU and the cooler, enhancing the thermal interface’s effectiveness without introducing unnecessary resistance.
The Problem with Larger Amounts
Conversely, applying larger amounts of thermal paste or employing more complex patterns, such as multiple dots, crosses, or circles, often does not lead to a proportional improvement in cooling performance. Instead, these methods can lead to complications that detract from the paste’s effectiveness.
One common issue is the formation of air bubbles within the thermal paste layer when too much product is used. Air bubbles act as thermal insulators, disrupting the even transfer of heat from the CPU to the cooler and potentially leading to hotspots on the CPU surface.
Another challenge with excessive thermal paste is the risk of uneven spread. When too much paste is applied, the pressure from the cooler may not be sufficient to spread the paste evenly across the CPU’s surface. This uneven distribution can result in areas of the CPU being poorly covered, reducing the overall efficiency of heat transfer.
Practical Tips for Application
The goal is to achieve a layer that’s just right—not too thick to impede heat transfer, nor too thin to leave gaps. Here are some practical tips to ensure you apply the right amount of thermal paste every time, tailored to your CPU’s specifications and the thermal paste’s characteristics.
- CPU Size: Larger CPUs have a bigger surface area that needs coverage.
- Paste Consistency: The viscosity of your thermal paste affects its spreadability.
- Pea-sized Dot: This is the most recommended method for its simplicity and effectiveness. Place a small dot of paste in the center of the CPU.
- Thin Line: Useful for rectangular CPUs, a thin line of paste applied down the center can ensure more uniform coverage for these shapes.
- Cross Pattern: For CPUs with a larger surface area, a cross pattern can provide a good distribution of paste.
- Spreading: While not always recommended due to the potential for air bubbles, manually spreading the paste with a tool (like a plastic card) can offer complete control over the thickness and coverage.
Cleaning Up Excess Thermal Paste
Cleaning up excess thermal paste is a crucial step in maintaining the integrity and performance of your computer’s CPU and motherboard.
Whether it’s a result of overzealous application or just a slip of the hand, excess paste can create a mess that, if not addressed properly, could lead to significant issues down the line. Here’s a detailed approach to effectively cleaning up excess thermal paste:
Step-by-Step Cleaning Process
- Step #1: Ensure the computer is turned off and disconnected from power. Carefully remove the CPU cooler and any components that might obstruct access to the spilled paste.
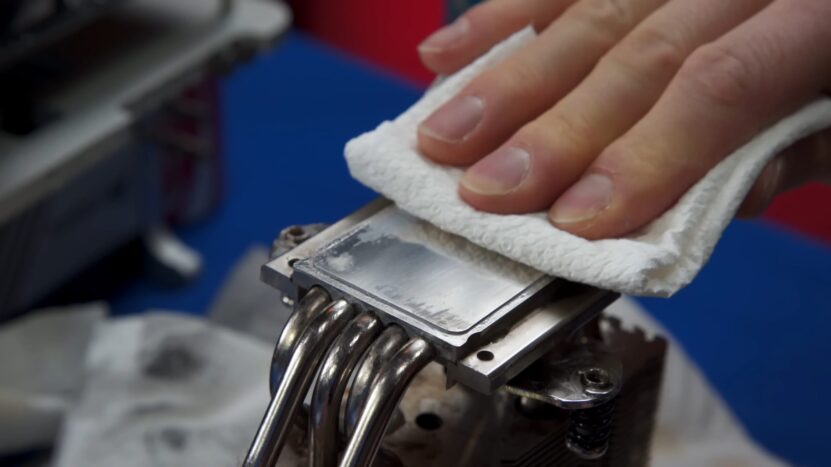
- Step #2: Using a lint-free cloth, gently wipe away any large blobs or spills of thermal paste from the CPU and surrounding areas. Avoid using excessive force that might push the paste further into sensitive areas.
- Step #3: Moisten a clean section of the cloth or a cotton swab with isopropyl alcohol. Begin cleaning the affected areas with gentle, circular motions. The alcohol will help dissolve the paste, making it easier to remove.
- Step #4: Pay special attention to the edges of the CPU and any crevices where paste might have accumulated.
- Step #5: After removing the excess paste, allow the area to dry completely. Isopropyl alcohol evaporates quickly, but a final inspection ensures no residue remains.
- Step #6: If the cleanup process required removing the CPU or disturbing its thermal interface with the cooler, you’ll need to apply a new, appropriate amount of thermal paste before reassembling.
- Step #7: Once the CPU and cooler are back in place, power on your system and monitor the CPU temperatures to ensure everything is functioning correctly.
Necessary Supplies
- Opt for a high concentration (at least 90%) for its quick-evaporating properties and effectiveness in dissolving thermal paste.
- These are essential to avoid leaving any fibers or debris on the CPU or motherboard.
- Available from computer hardware suppliers, these wipes are pre-moistened with a solution designed to remove thermal paste safely.
- Useful for detailed cleaning around the CPU socket or in tight spaces where a cloth might not reach.
- A non-abrasive tool can help in gently scraping off thicker accumulations of paste without damaging the CPU surface.
FAQs
Is 1 gram of thermal paste enough?
Yes, 1 gram of thermal paste is typically enough for multiple applications, as only a small pea-sized amount is needed for each CPU installation.
Can thermal paste ruin a motherboard?
Yes, if the thermal paste is electrically conductive and spills onto the motherboard, it can cause short circuits and potentially damage the motherboard.
Can you use 90% alcohol to clean CPU?
Yes, 90% isopropyl alcohol is ideal for cleaning the CPU as it effectively removes thermal paste and evaporates quickly, minimizing the risk of moisture damage.
Is it OK if thermal paste overflows?
While a slight overflow of non-conductive thermal paste is not typically harmful, excessive overflow can be messy and might affect cooling efficiency. Conductive paste overflow can be dangerous and should be cleaned up immediately.
The Bottom Line
I’ve seen firsthand how both insufficient and excessive amounts of thermal paste can lead to cooling inefficiencies and, in worse cases, damage to the motherboard. Finding that sweet spot—typically a pea-sized dot—has taught me the importance of understanding the specific needs of my CPU and the thermal paste’s properties.
It’s a reminder that in the realm of PC building, sometimes less is indeed more, and paying attention to the little details can make a big difference in performance and longevity.